The Frankie Scarf
For the past few years, my 3 sisters and I have made homemade Christmas gifts. It’s a tradition I’ve absolutely loved. Seeing what our creative brains come up with is exciting and very fulfilling.
This year I had my little sister. I knew I wanted to sew something. I didn’t want to do any type of clothing item necessarily, but more of a gender neutral accessory. I personally have lots of different square handkerchief scarfs that I like to either put on bags, in my hair, hanging out of my coat pockets, or classically around my neck. So I had this idea: why not quilt a scarf?
I searched on Etsy and the good ol’ web to see if I could find an example. I found nothing. The thing with scarf material, is it is extremely light and slippery. It is not an easy material to work with. I assumed that was the reasoning for not finding examples. Additionally, I assumed that it wouldn’t be an extremely sturdy item, due to the delicacy of the material. So, to my search, no one had done what I wanted to do. Despite the risks, I had a vision in my head and I was going to go for it.
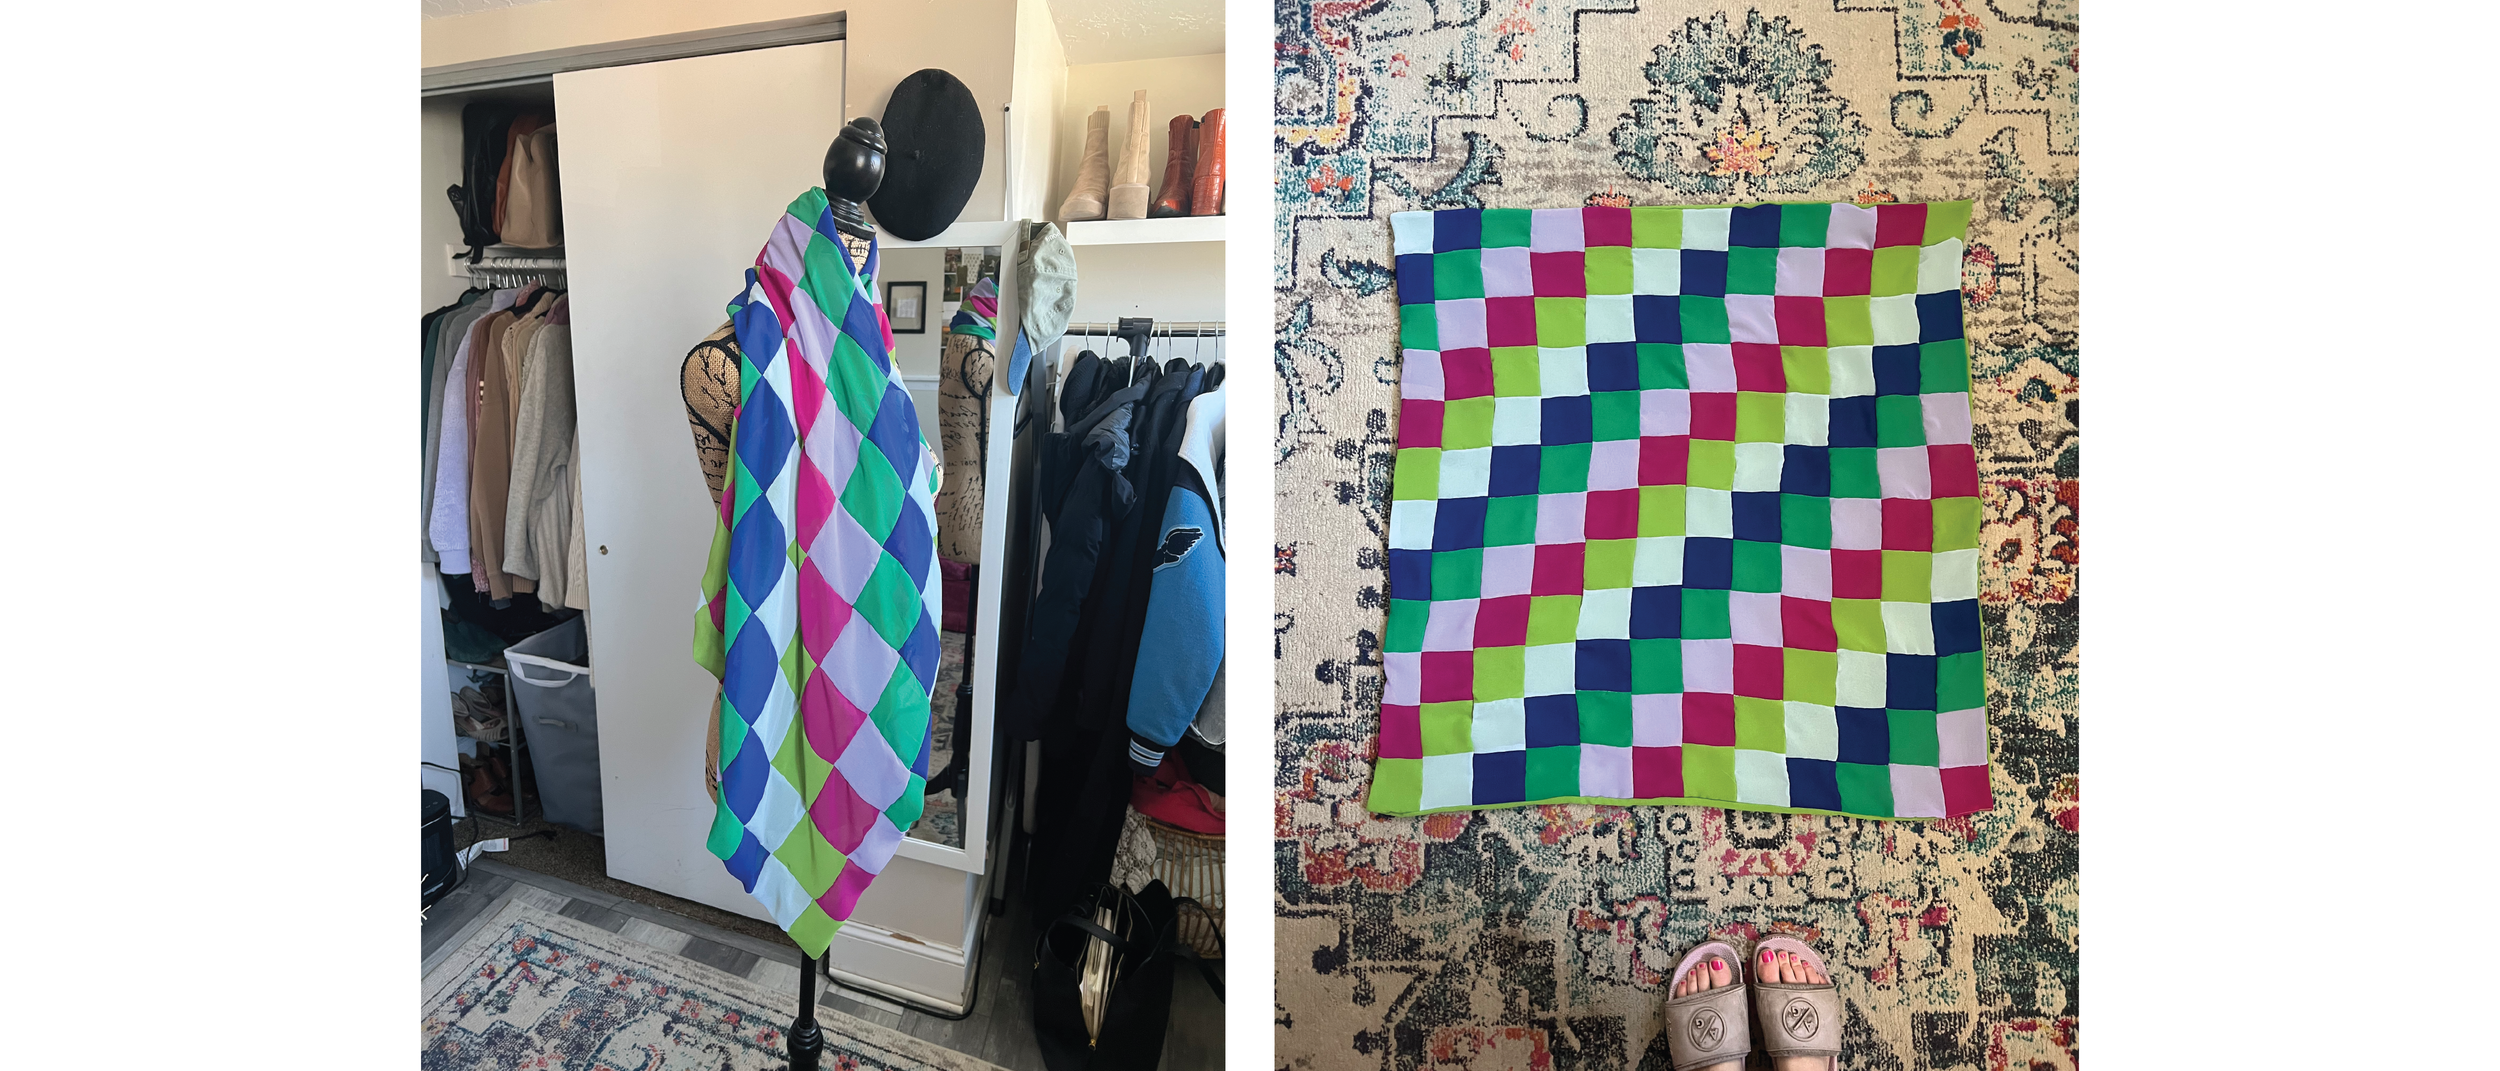
The pattern was simple. I decided I wanted the scarf to be a 36”x36” square. Each piece would be 3.5”x3.5”, 0.5” accommodating for seam allowance. Overall, it would be 12 rows and 12 columns, totaling in 144 squares.
I decided on a Polyester Chiffon fabric.
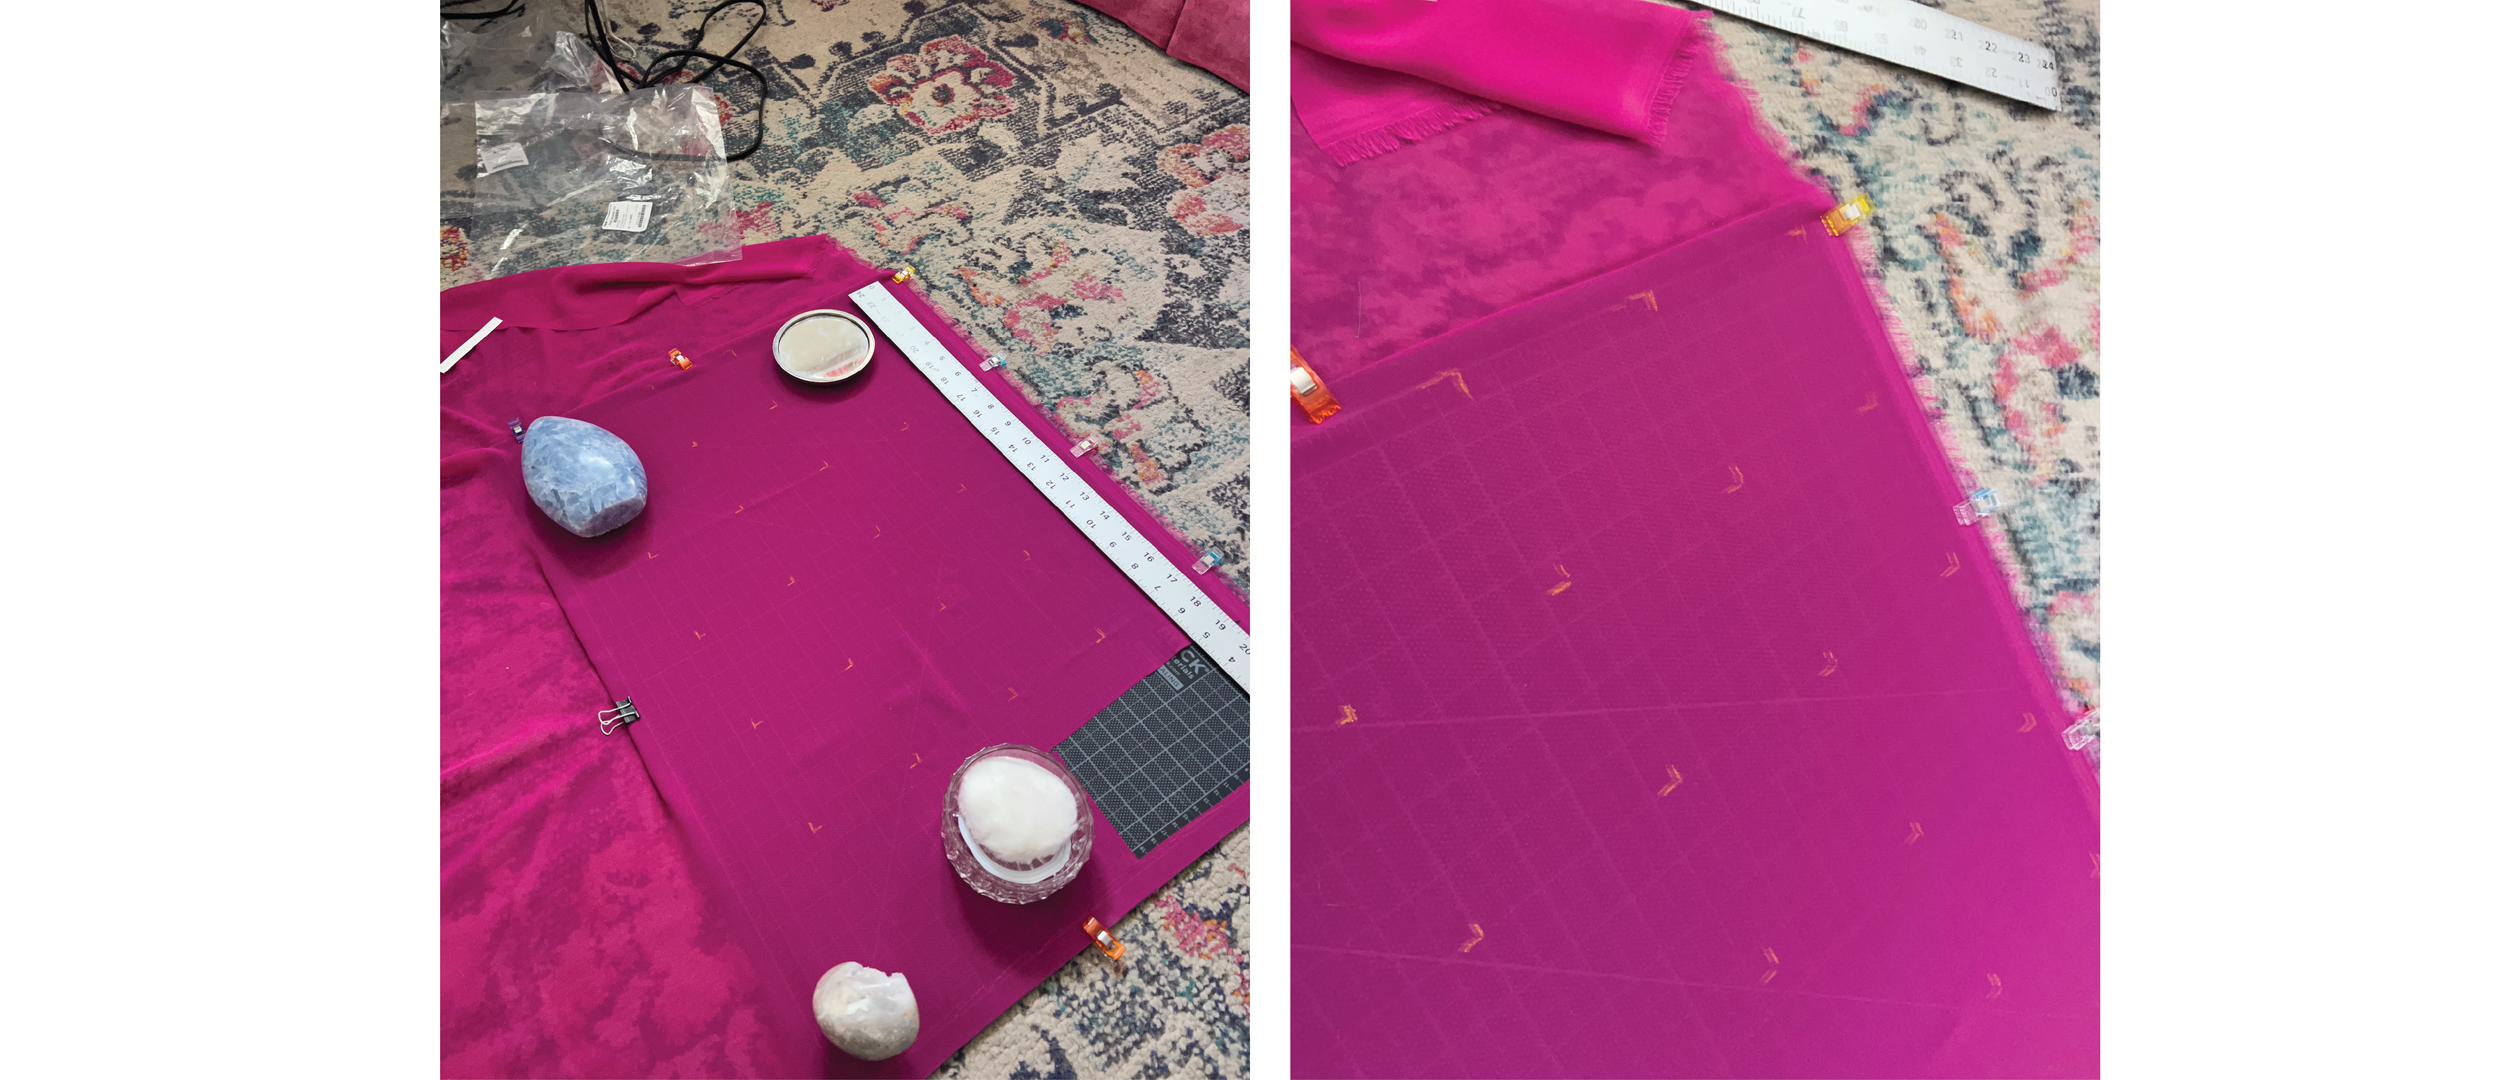
Knowing the risks going into the project, I did my due diligence to combat them. When cutting the fabric, I secured it to the cutting mat with clips. I also used different items to weigh the material down even more to reduce shifting. From there, I measured out the different squares using a ruler. When cutting the squares out, I used that same ruler, with a rotary cutter. This allowed me to have a tight fabric base, to cut the cleanest lines possible. Although I took these steps, the squares weren’t perfect, but they were as close as I could get!
Then began the sewing. The web search told me that it’s best to stabilize the fabric using tissue paper. I pinned the 2 fabric pieces sandwiching the tissue paper. By doing so, I could pin the fabric to the square paper, allowing it to be more even and not shift during sewing. In the end, each tissue paper could be used twice, so I ended up needing roughly 1/2 the amount of tissue paper to fabric (72 in my case)
It was also important that I changed my stitch length and pattern. This fabric needs to be more secure, and a zigzag at the smallest stitch is best. This provided its own challenges. Unpicking, while inevitable, was extremely difficult and time consuming. My tip for unpicking is cutting the bottom stitch first, so ultimately it will allow you to pull the thread out *without pulling the delicate material.
From there, I sewed row by row. When I would get an entire row done, I would connect it to the next one.
This little scarf took me over 12 hours, each row taking about 45-60 minutes, with complete focus and no unpicking. After all the rows were done and complete, I connected it to a solid fabric piece for the back. I decided to only sew around the edges, and leave the center open (rather than securing it like a classic quilt). I liked how much airiness and dimension it gave the scarf.
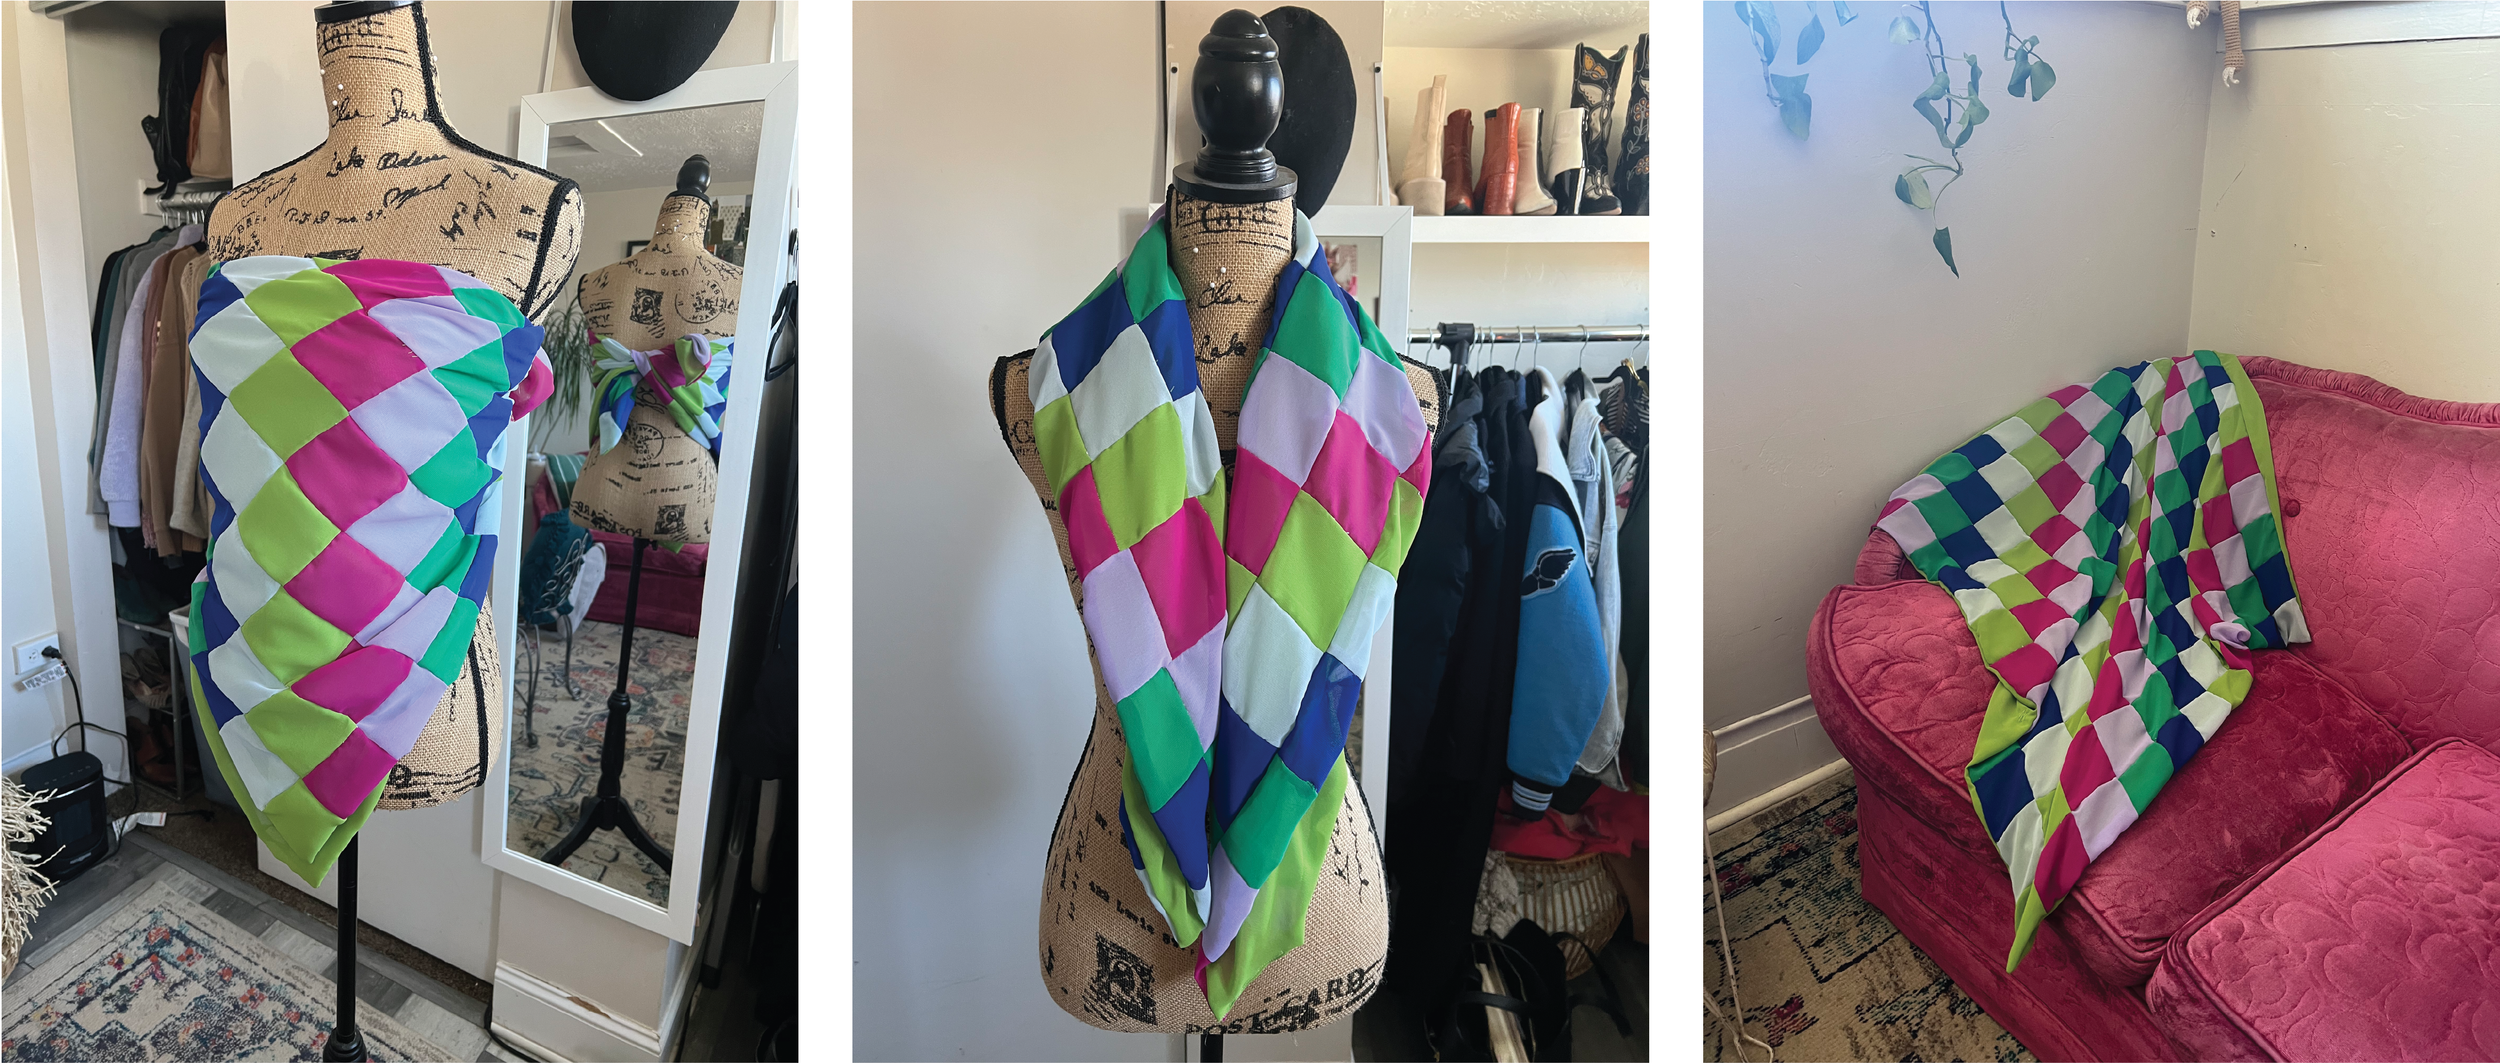
Overall, I absolutely fell in love with this scarf, and was dragging my feet to give it to my sister. The process was difficult, and tedious. But the bubblyness and dimension of the scarf outmatched any hopes I had for it. It’s such a statement piece, that is so extremely unique. I am curious how it holds up, but honestly, the frayed look will only add to the item I think. I’m considering making myself one, but the difficulty of the project isn’t pushing me to do it any time soon hahaha. I’ll reminisce through photos and seeing how my sister styles it until then.
The Frankie Scarf
How To:
Tips and tricks:
When cutting the material, secure it to a cutting mat using clips. Make sure the weave of material is not skewed or slanted. Weigh it down using heavier objects to prevent it from shifting.
Use a ruler to measure out each square. I used a washable pencil to mark the corners, and created a grid on the fabric.
Use a ruler and rotary cutter to cut the fabric. Keep it secured on the cutting mat until done.
Sew the fabric using the smallest stitch size, on a zigzag.
Use a tissue paper square between you fabric squares. Pin it as squarely as possible. Sew with the tissue paper, Once done, just tear it gently out.
Be extremely gentle and patient with the fabric. Don’t pull or tug, even when unpicking.
If you need to unpick, cut the bottom stitch first. This way, you should be able to pull that thread out, and easily pull the top thread after.
Building the scarf:
Decide how big you want your scarf. For me, I decided I wanted the scarf to be 36” x 36”. I divided that by 12, making each square 3”. I then added 0.5” for seam allowance. I also decided to use 6 different colors. This meant I needed 24 squares of each color.
Sew each row, one by one. Trim and clean up any stray threads from each square as you go. As you get each row done, sew it to the last. Once all rows are sewn together, sew your quilted scarf to a solid scarf material used for the backing, right sides together. Leave one corner unstitched, so you can pull the material through. Finish the scarf by sewing that final corner together!
What do you think? Worth the 12+ hours? I would say yes, but again, I’m not in a rush to make my own hahaha! 😂
Thank you for being here and reading about my sewing adventures. I really appreciate your love and interest in what I have to write - so thank you :)


