Red Silk Skirt
I’ve been wanting a gathered, tiered Mexican inspired skirt. By pure coincidence, my grandma Patty Jo had some red raw silk fabric that she just gave me at the perfect time I was planning to make this skirt. This silk was unique- rather than shiny and smooth like typical silk, it was a rough, raw silk that had texture to it.

Going into it, I knew working with silk would be a challenge, but I was up for it. Silk is extremely delicate. You can only heat it at a really low setting, or else you risk it burning. This makes it difficult, or nearly impossible, to get clean, crisp, ironed edges. Knowing this, I was still determined to create a fiery ruffled skirt, despite the anticipated struggles.
Originally, I searched Etsy to find a pattern for what I was thinking. I found this dress pattern, which I decided to adjust in order to make it into a skirt. I made this entire skirt in muslin first to make sure it would work before I cut it into the nice silk. Although I don’t always do this, creating a project in muslin first is like your insurance policy. You can trial the design and make any needed adjustments before you risk messing up your nice fabric. I highly recommend this step, especially when working with expensive fabric such as silk.
Once I felt confident in my muslin rendition, I started prepping the silk. I started by serging all the edges and delicately washing the fabric. Not only can silk not be heated, it needs to be washed, ideally by hand, in cold water, and air-dried. It is also highly recommended to wash fabric prior to working with it. Truthfully, I’ve skipped this step before, and after I washed my new piece of clothing, it shrank and the fit was entirely different. Washing the fabric is essential to ensuring the fabric is ready for sewing. I serged the edges of the raw edges of fabric first to protect it during the wash and prevent damage or ripping to the material. Once washed and dried, I ironed the material on very low settings, in order not to burn the silk.
Then I cut out the pattern. It was fairly straightforward, with only 6 total pieces. I adjusted the top later, given that the original pattern was a dress. I cut off the neckline and made the top piece have a straight edge to accommodate the waist.
Once each piece was cut out, I once again serged all of the edges. Yes, white thread was used for the surging. I would recommend matching your thread to the color of the garment- but I also did not have the time or patience to switch out the serging thread. I also knew that literally, only I would ever see the white thread, and I was ok with that.
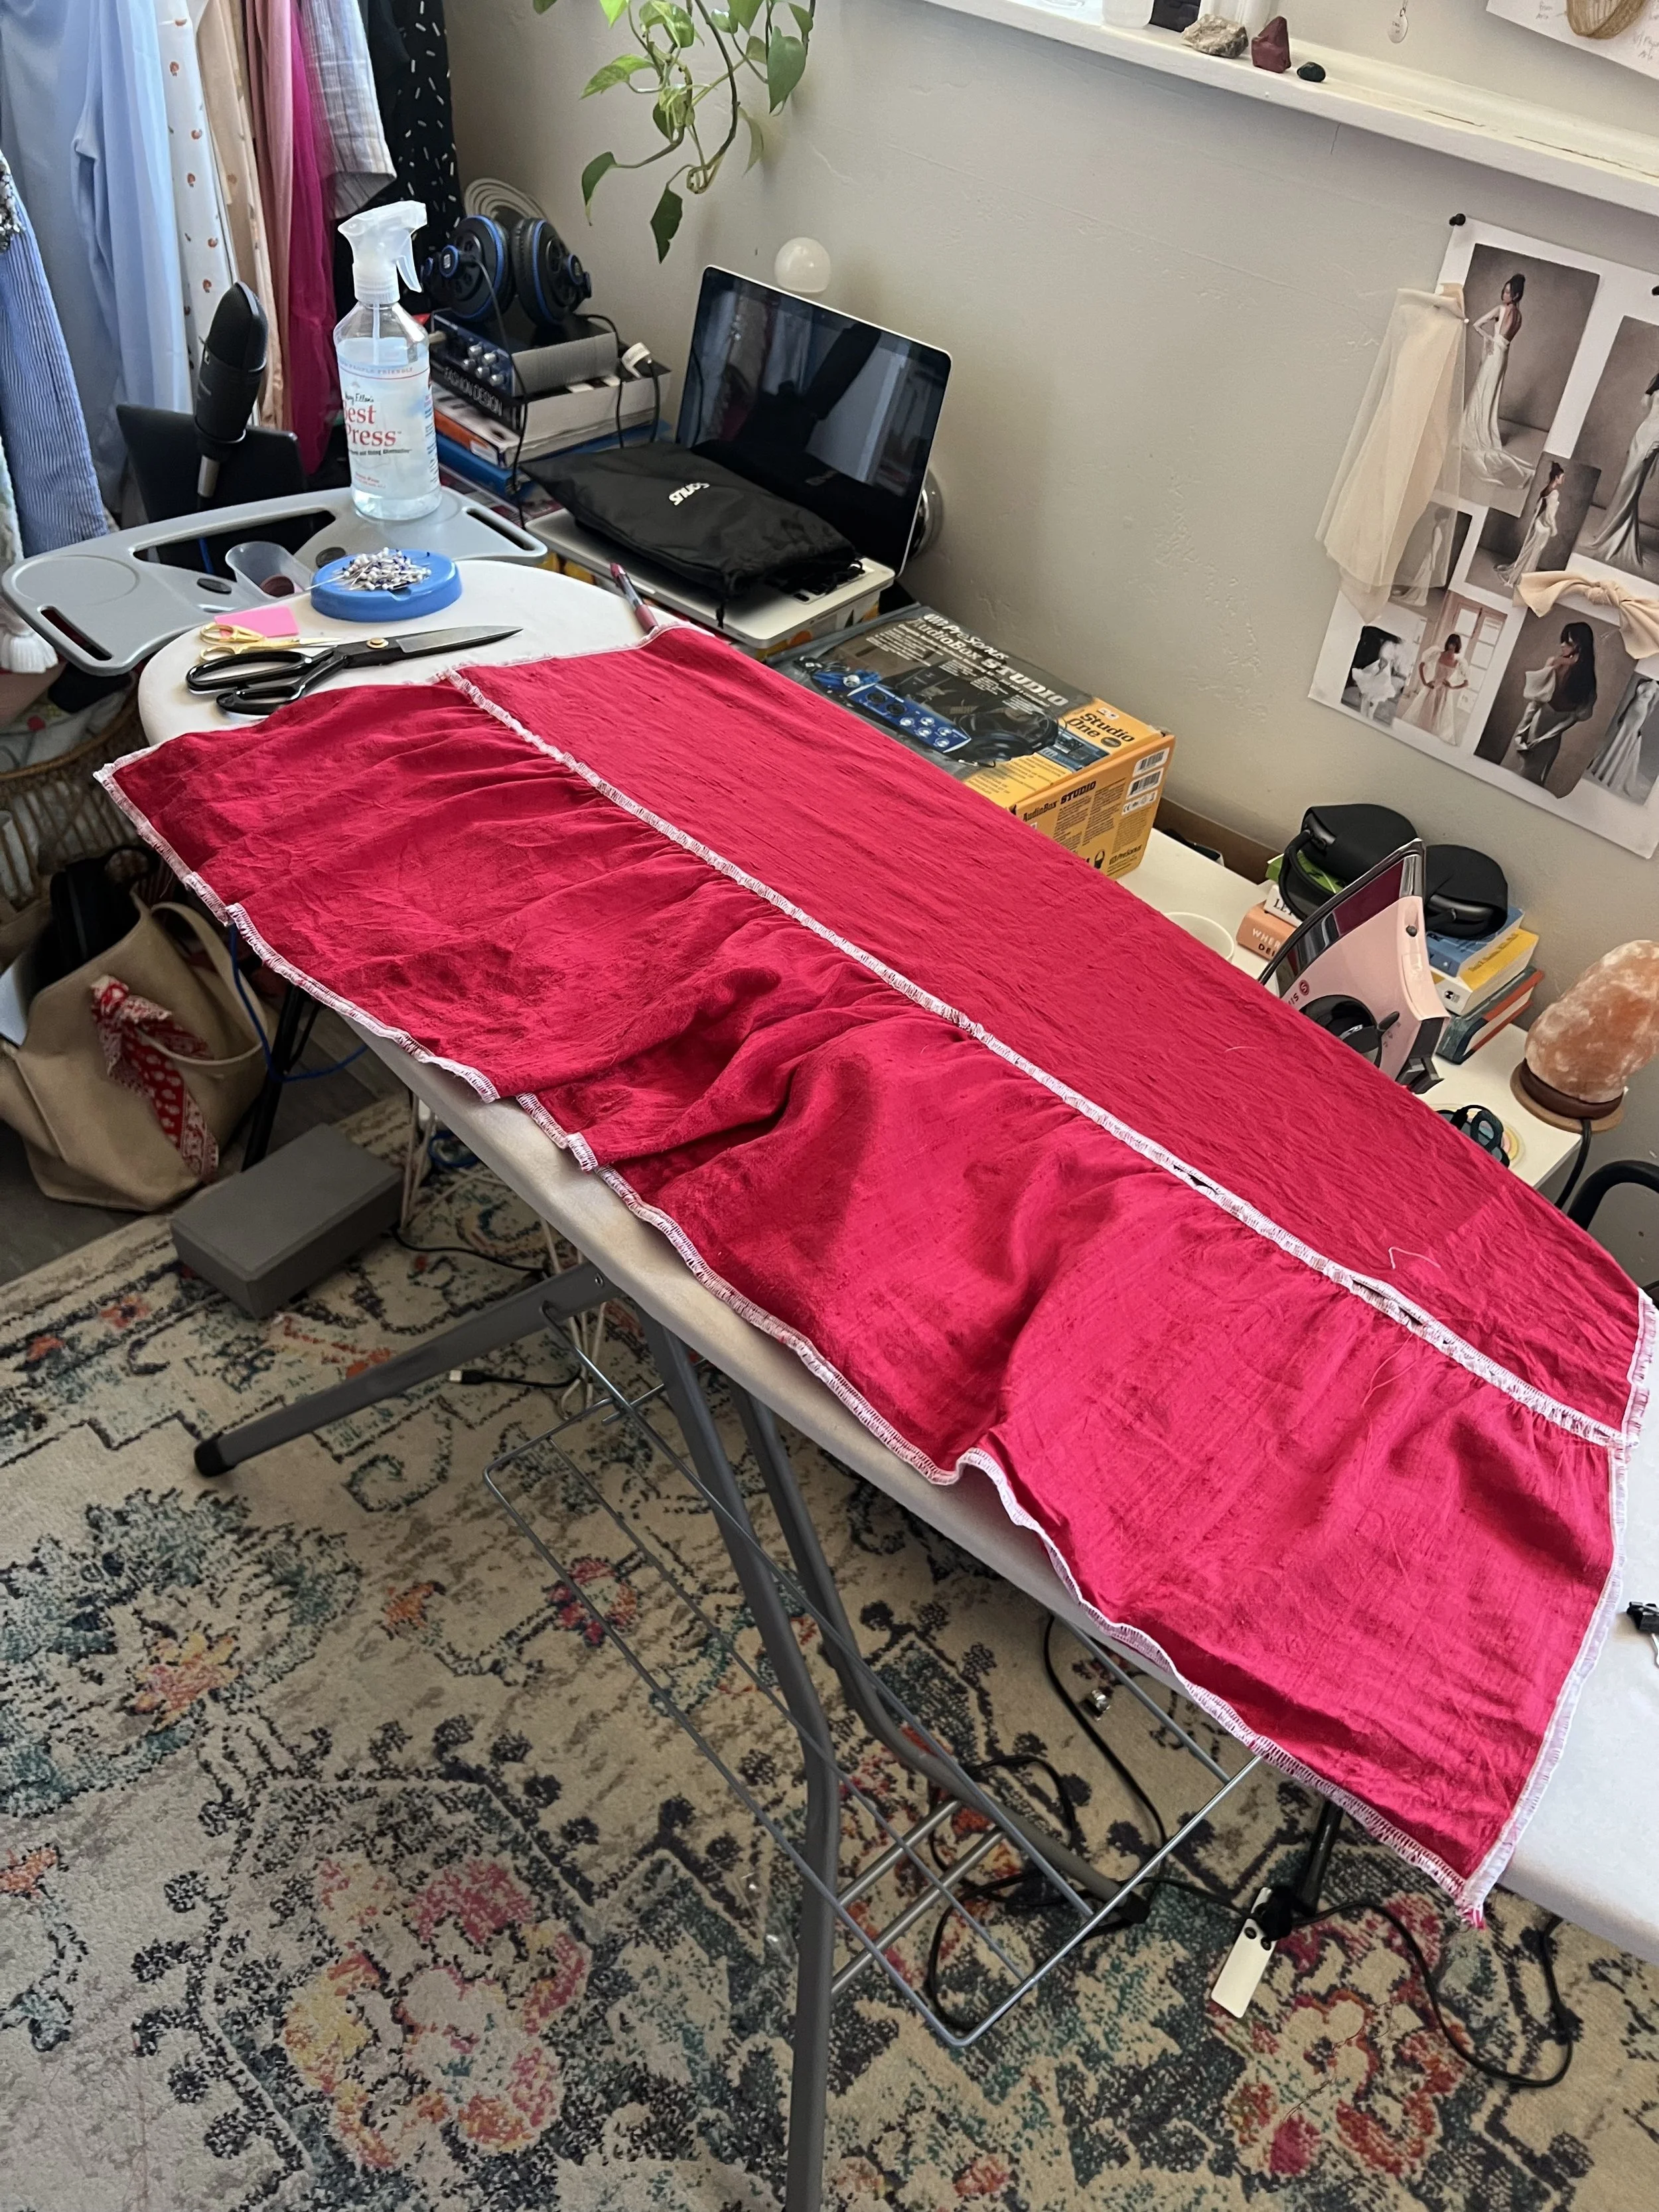
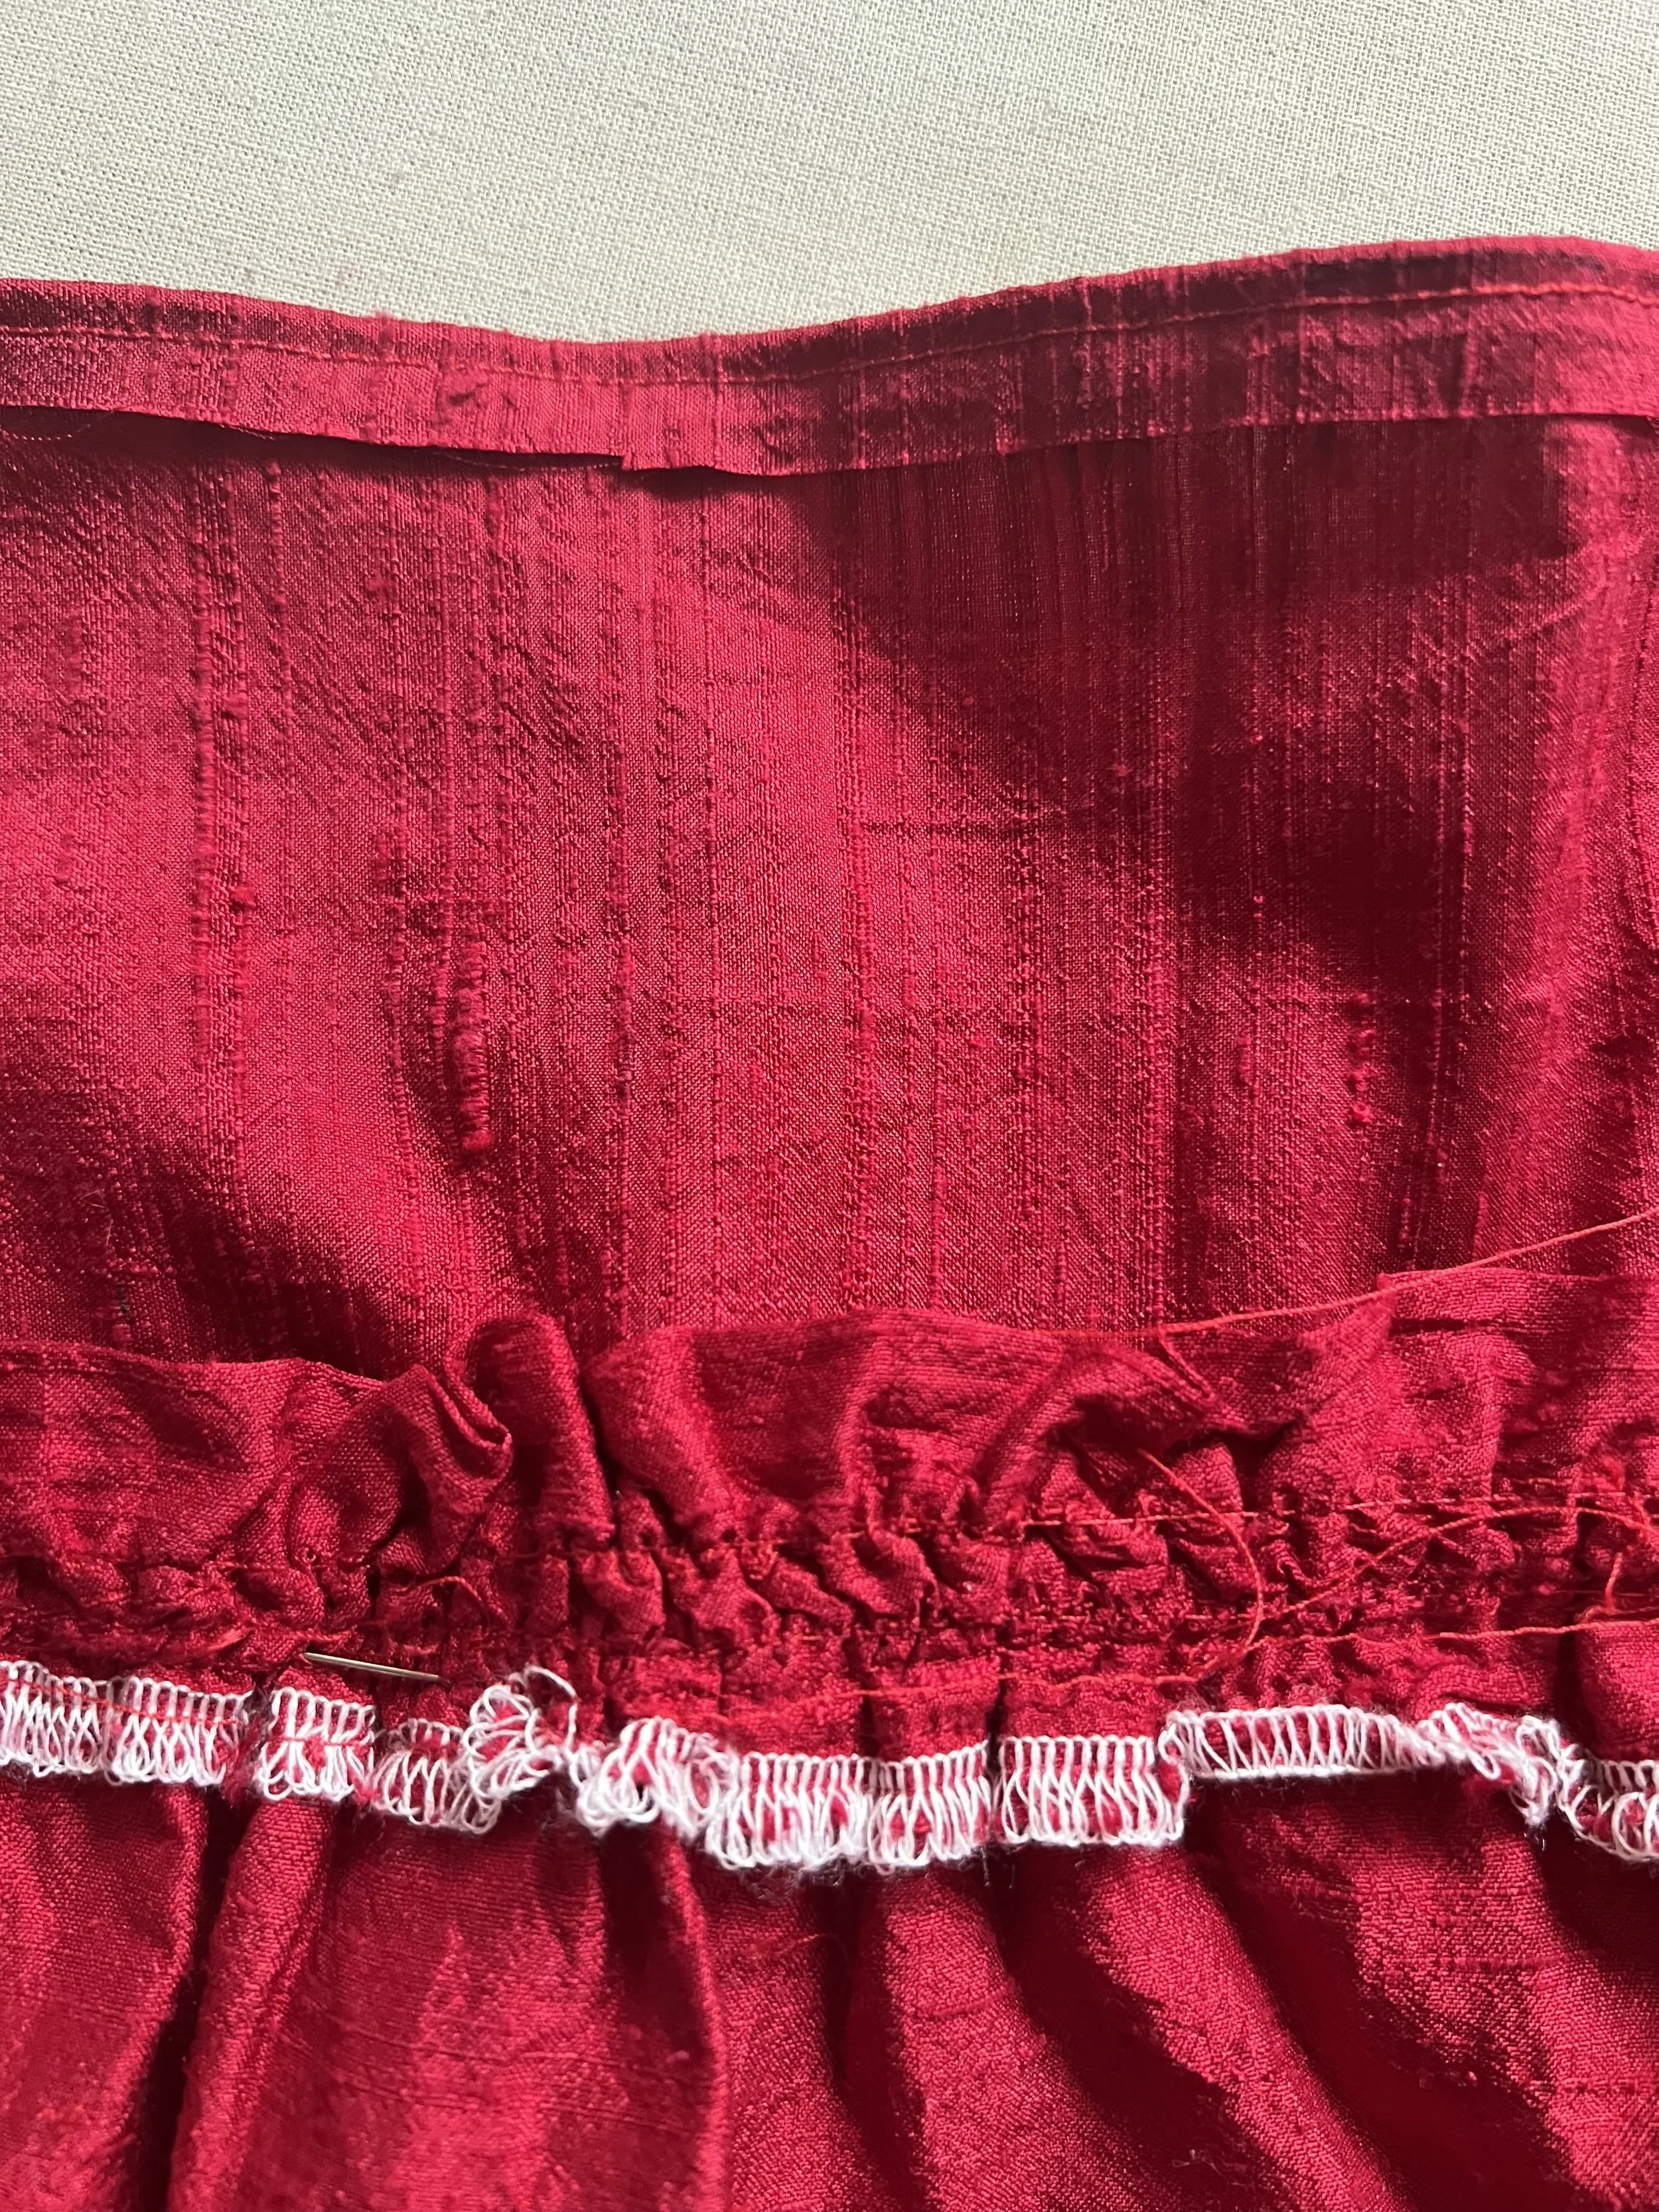
Each layer got 2 lines of a loose basting stitch. This is where you sew with the largest stitch length, which is very loose. This allows you to create the gathers easily by pulling the bottom thread. The top stitch stays where it needs to, and the bottom thread tightens to create even gathers.
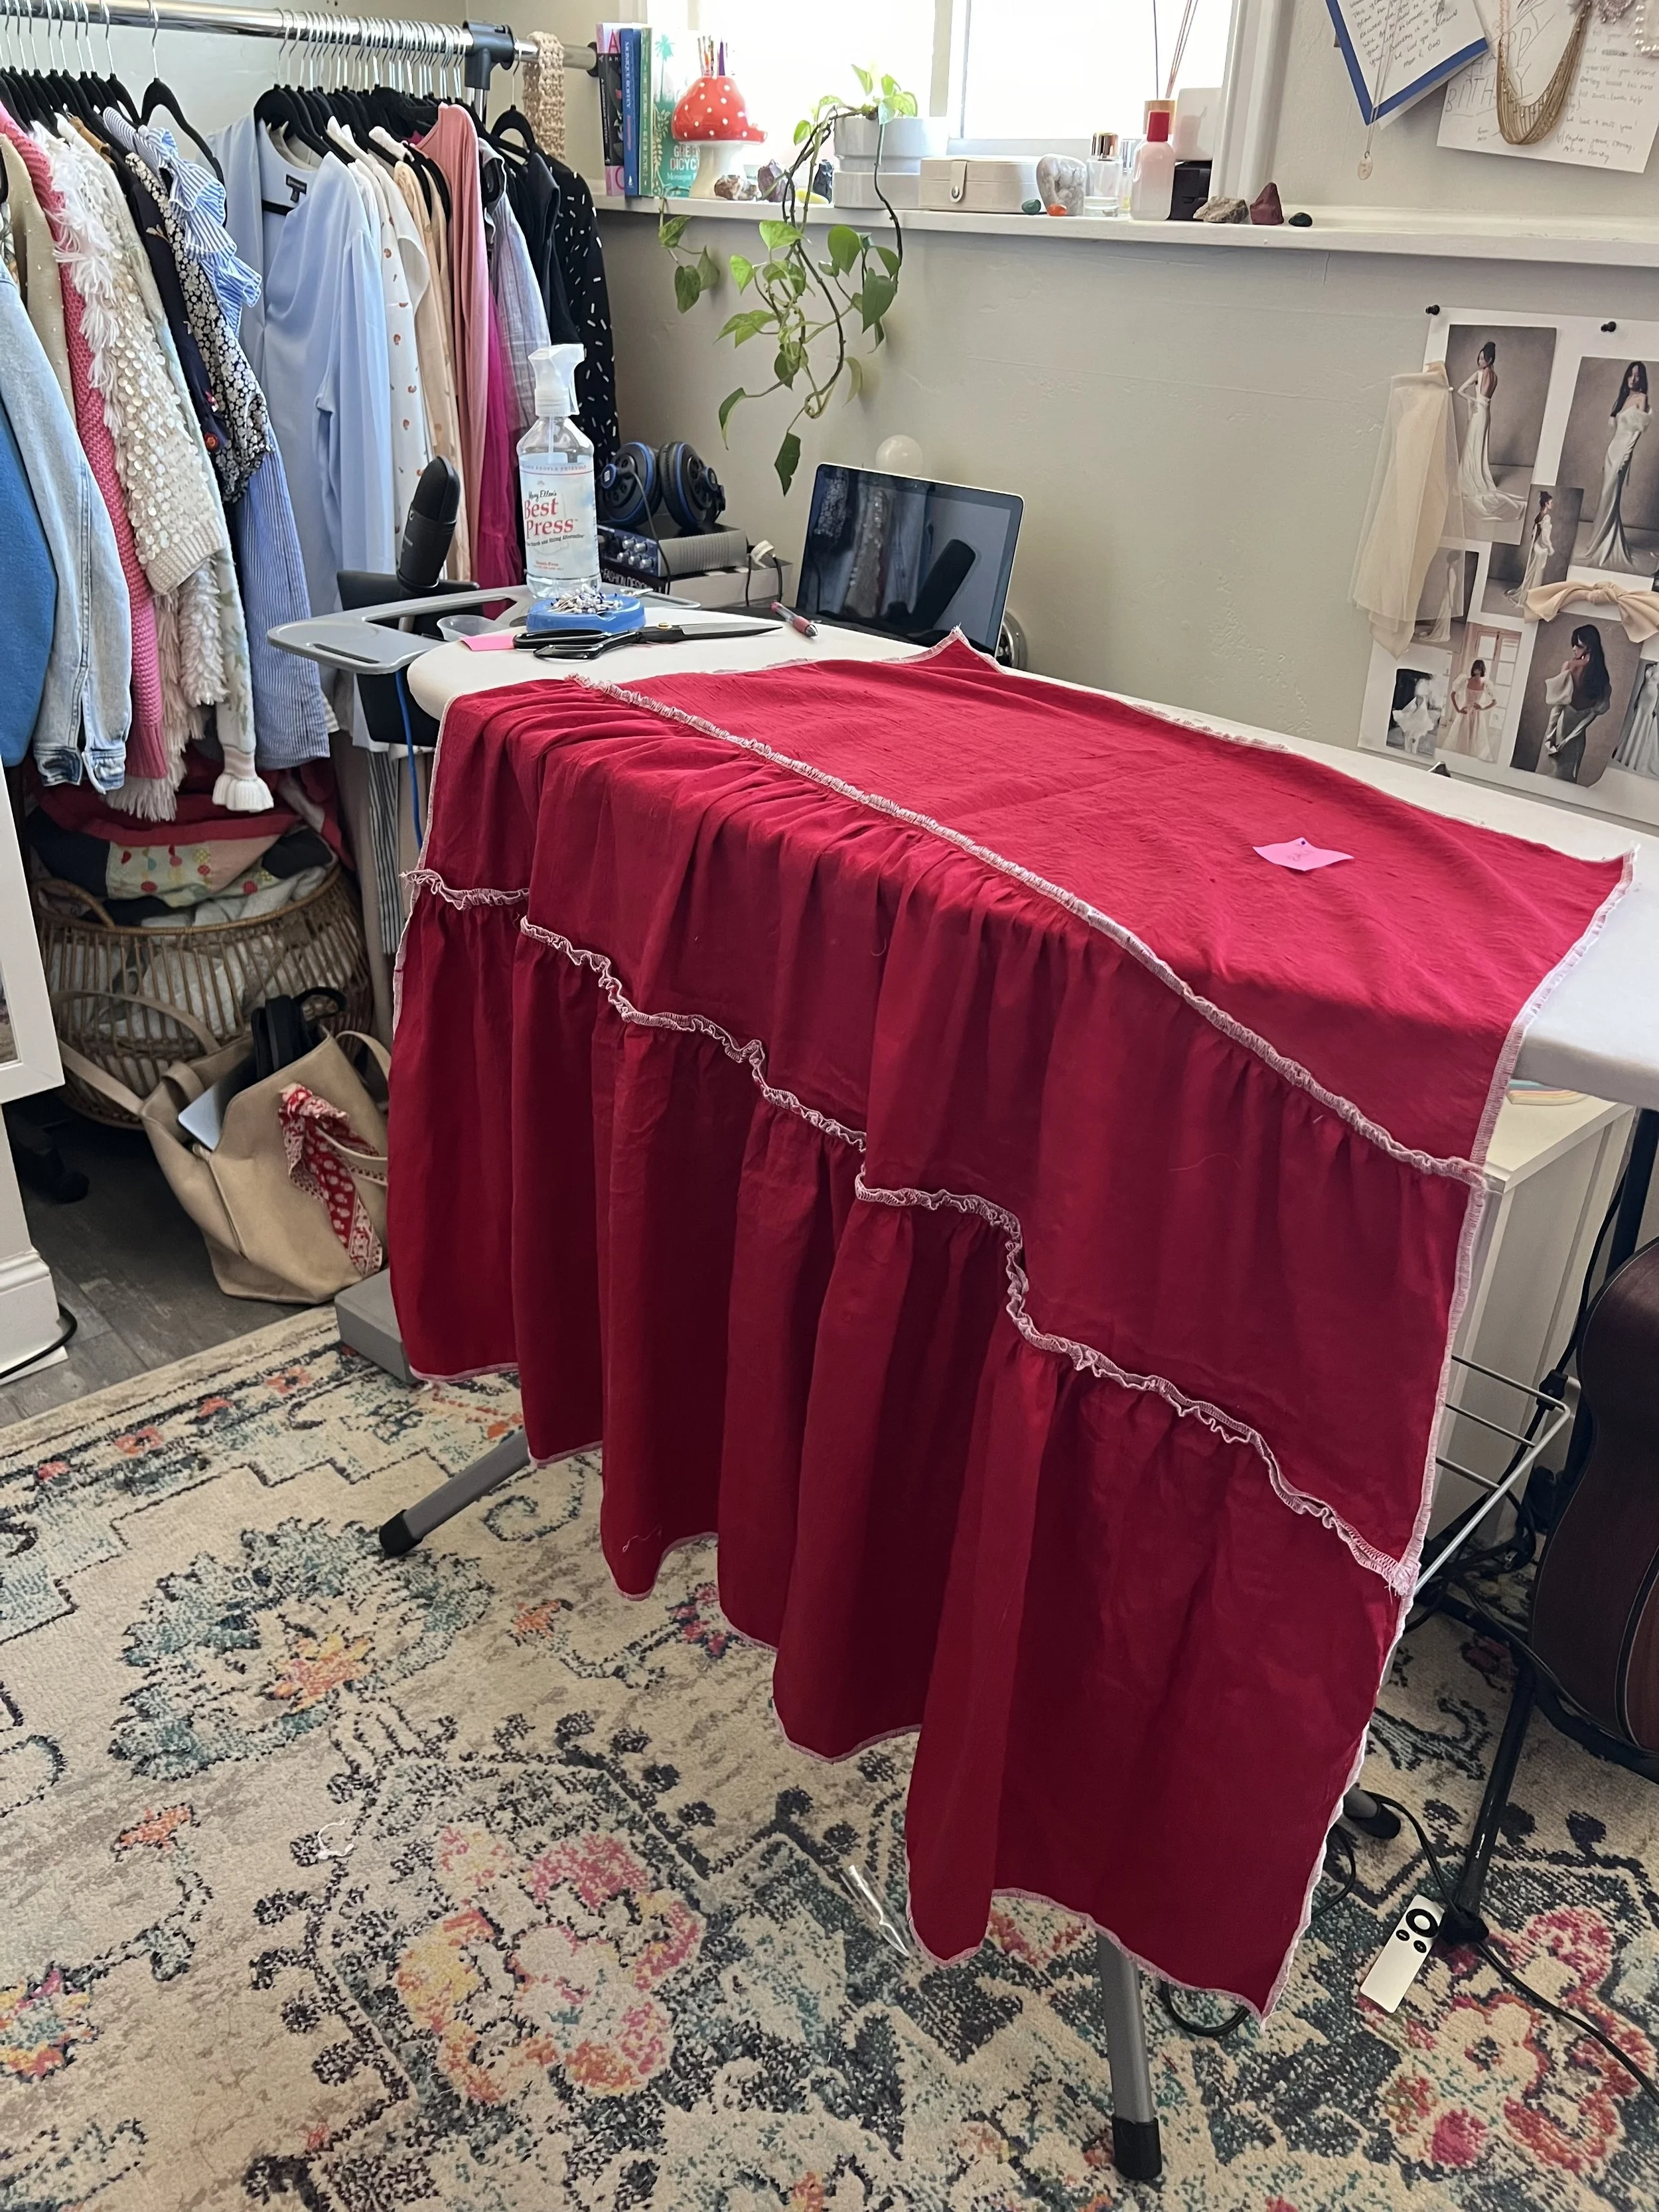
Once the two layers were gathered, they were then attached and stacked together to create the layered skirt look. The two-layered ruffle blocks were then connected to the top waist block. This process was then repeated with the back of the skirt.
Next, it was time to finalize the waist and finish the skirt altogether. At first, I decided to do an elastic waist. I folded over the top edge, then inserted a thick 1” elastic band. After it was done, I hated how bulky it looked. I also felt it decreased the quality. I was not about to cheapen my precious silk skirt with an elastic waist! So I unpicked and decided to add a proper waistband with a zipper. I cut out a brand new, straight waist band, fitting my waist. I added 2 basting stitch lines to this top block, and gathered it until it fit snug along the waist . From there, I attached the waistband, and added an invisible zipper. To finish the waist off, I added a button.
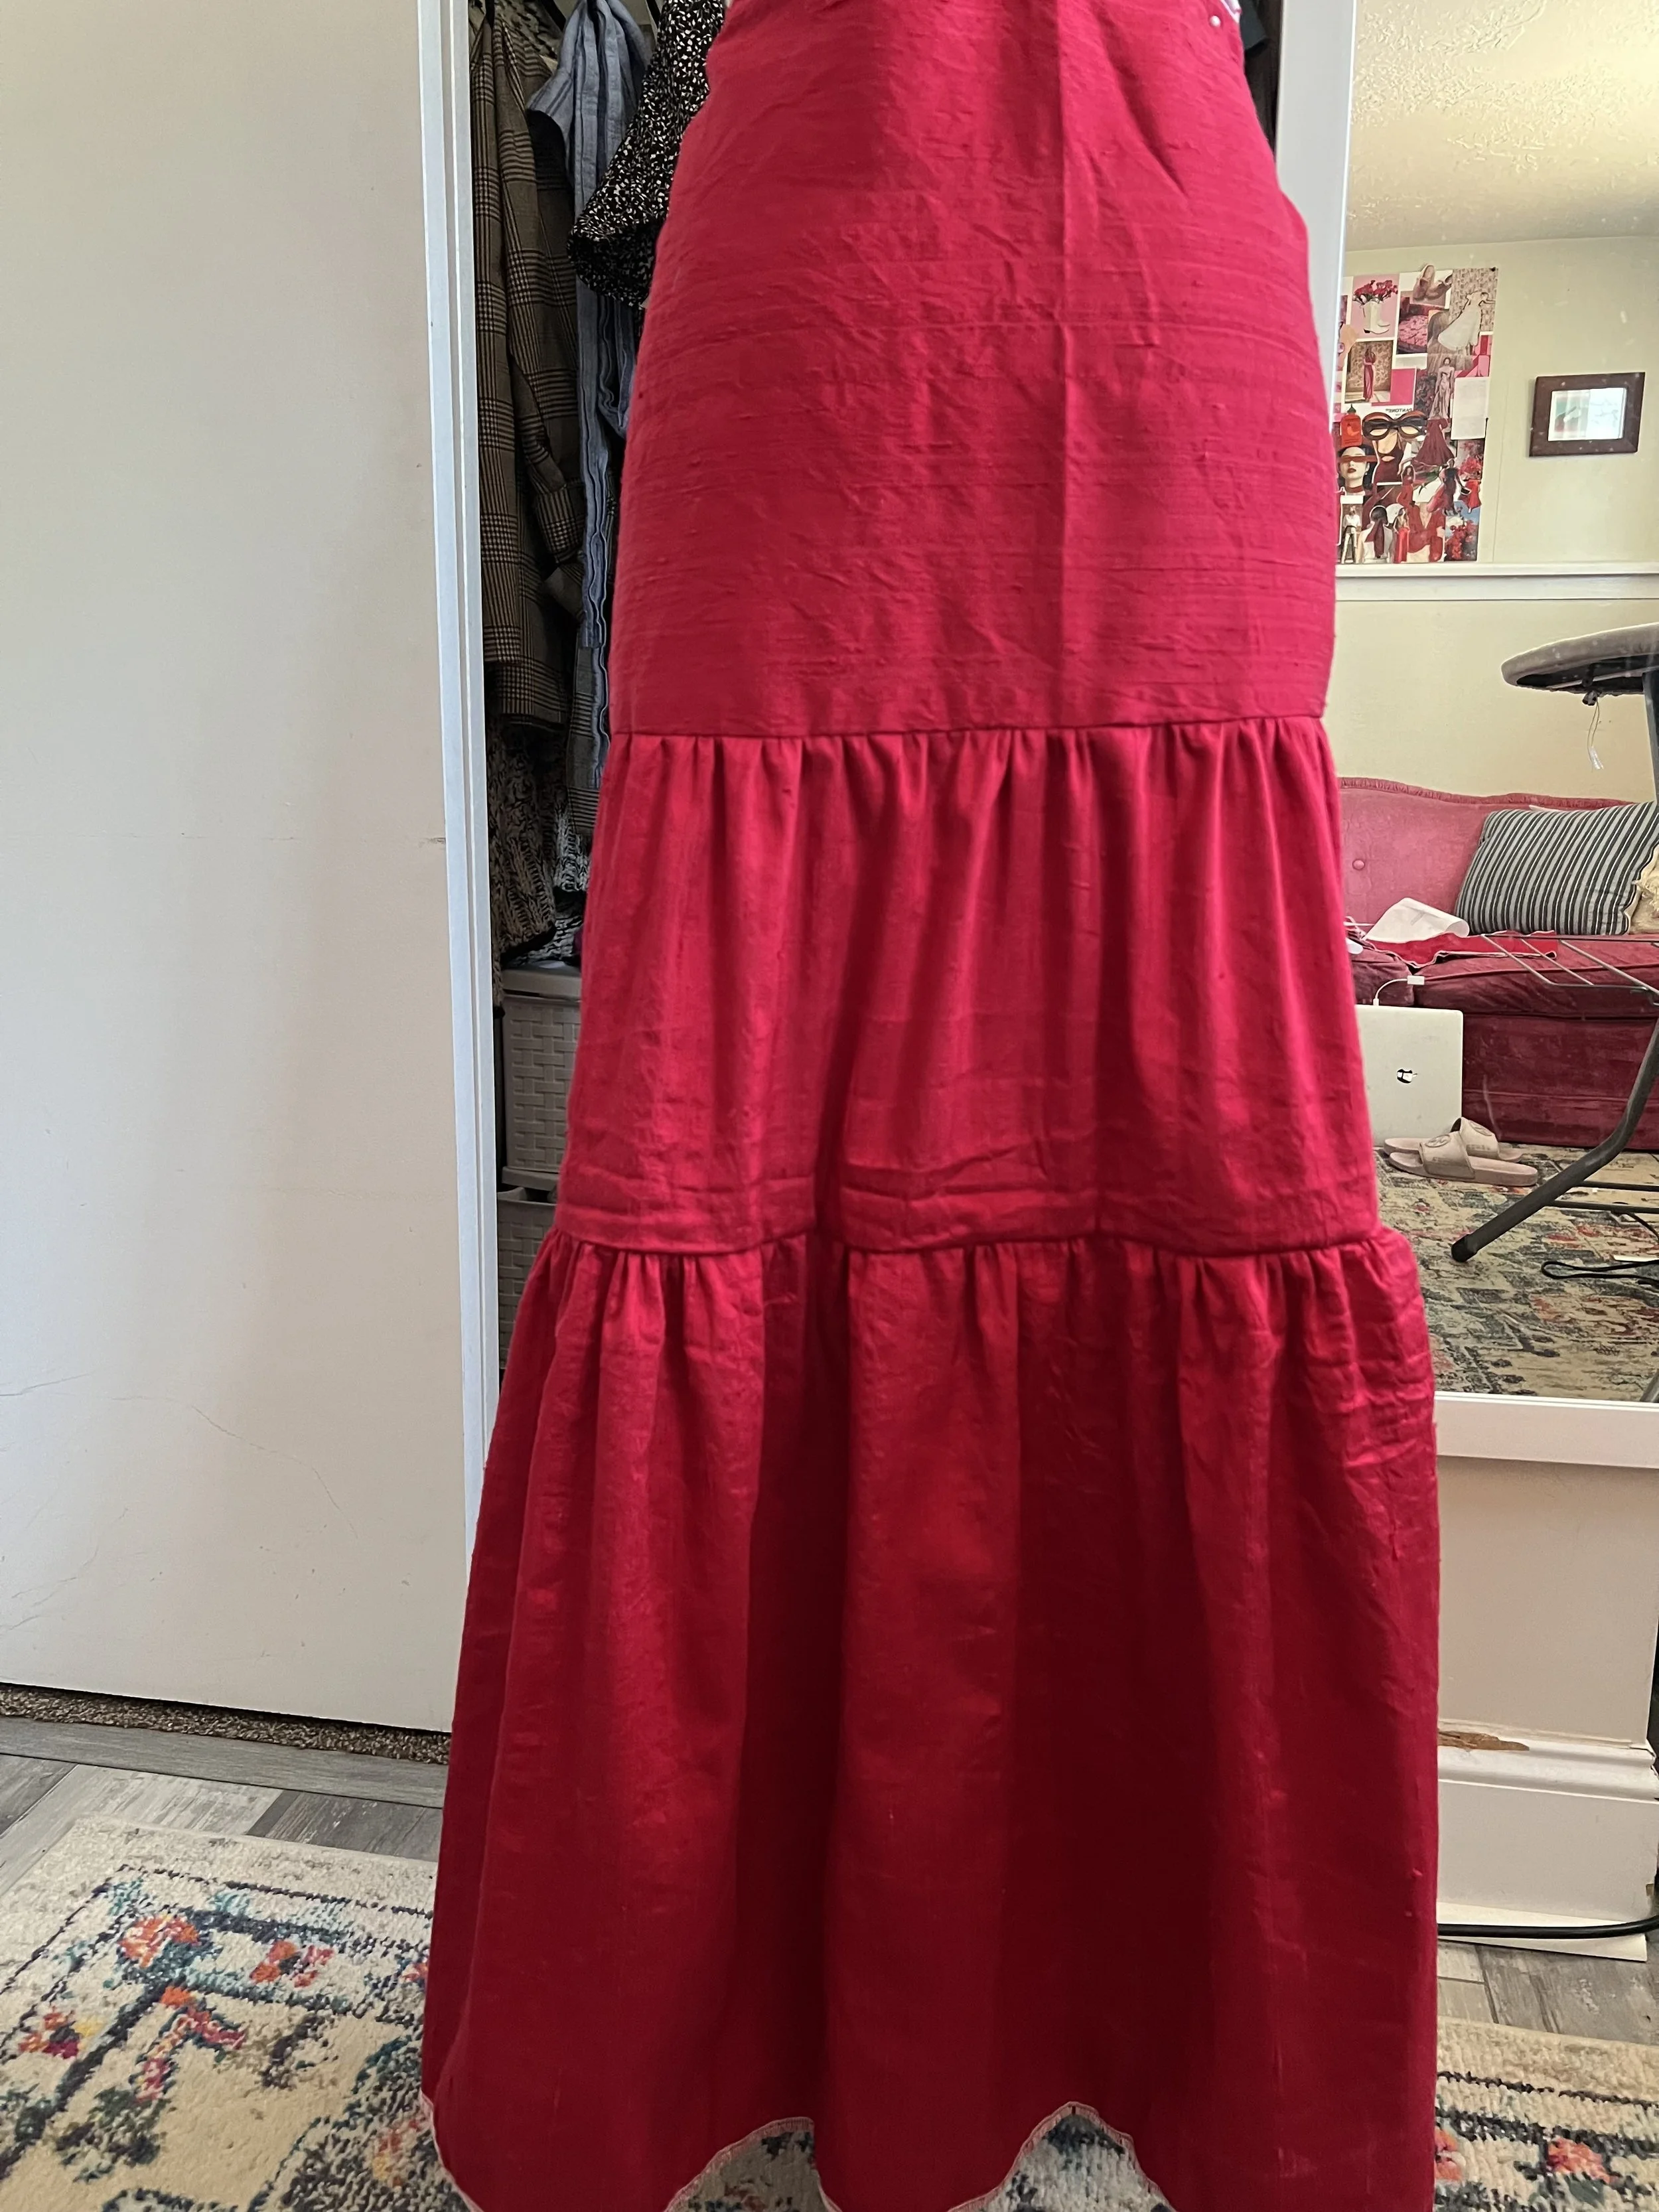

And then my dream red ruffle skirt was done! It quickly became one of my most-worn items throughout the summer. I love pairing it with sandals or dressing it up with boots! I even have more fabric, that I plan to make a matching top to go with it ❤️